A Step-by-Step Tutorial on How to Deploy a Medusa Server on DigitalOcean Droplet with Easypanel
By Grzegorz Tomaka
By Grzegorz Tomaka
Learn how to deploy Medusa on DigitalOcean Droplet with Easypanel.
Medusa.js is an open-source, self-hosted, headless commerce engine designed to build customizable eCommerce experiences.
While there are many ways to deploy a Medusa server, at Rigby we have found it very convenient to use DigitalOcean Droplets with Easypanel to create our development environments.
This guide's purpose is to walk you through the steps of deploying a Medusa server on a DigitalOcean Droplet using Easypanel.
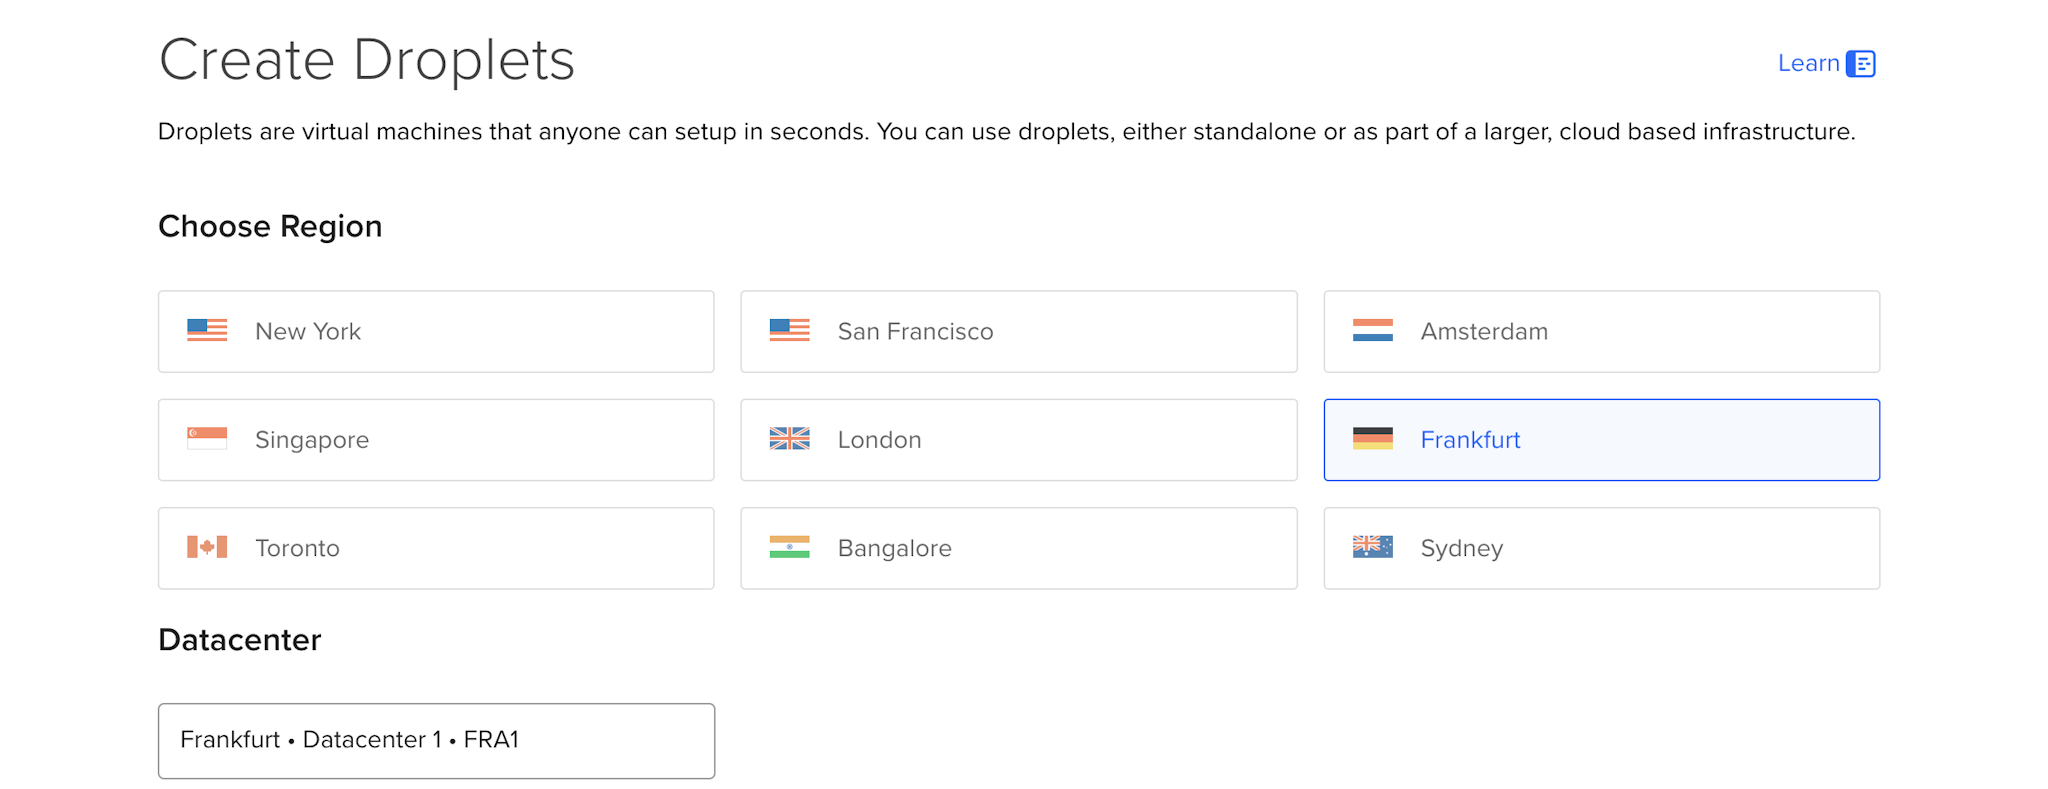
A DigitalOcean Droplet is a scalable virtual machine that runs on DigitalOcean's cloud platform. It offers a flexible and cost-effective way to deploy applications and websites, with the ability to choose from various sizes and configurations to match your specific needs. Droplets can be quickly created, destroyed, and scaled, making them an ideal choice for projects ranging from small personal blogs to large-scale enterprise applications.
Easypanel is a Docker-based web control panel that simplifies server and application management. It's like a self-hosted Heroku, making deploying applications in various programming languages easier without extensive server administration knowledge.
Ensure you have:
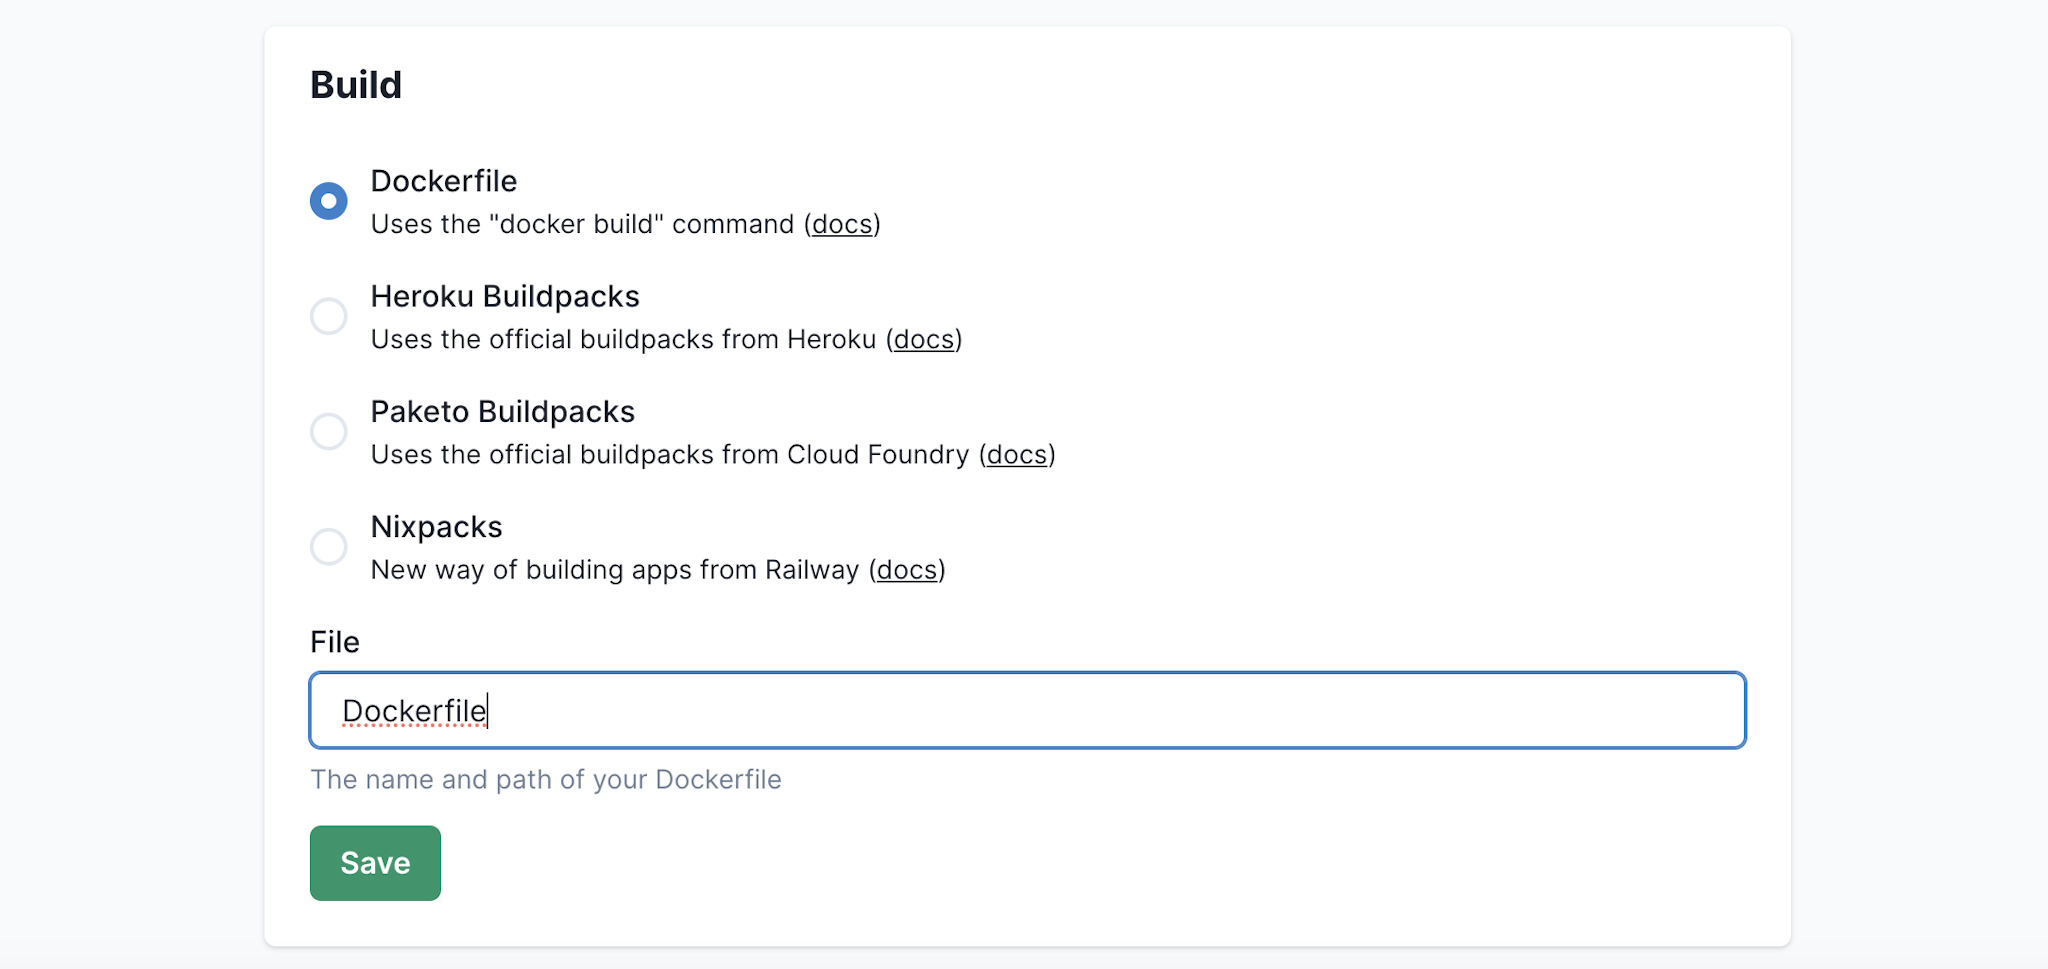
FROM node:latest

WORKDIR /app/medusa

COPY . .

RUN apt-get update && apt-get install -y python3 python3-pip python-is-python3

RUN yarn global add @medusajs/medusa-cli

RUN yarn

RUN yarn build

CMD medusa migrations run && yarn start
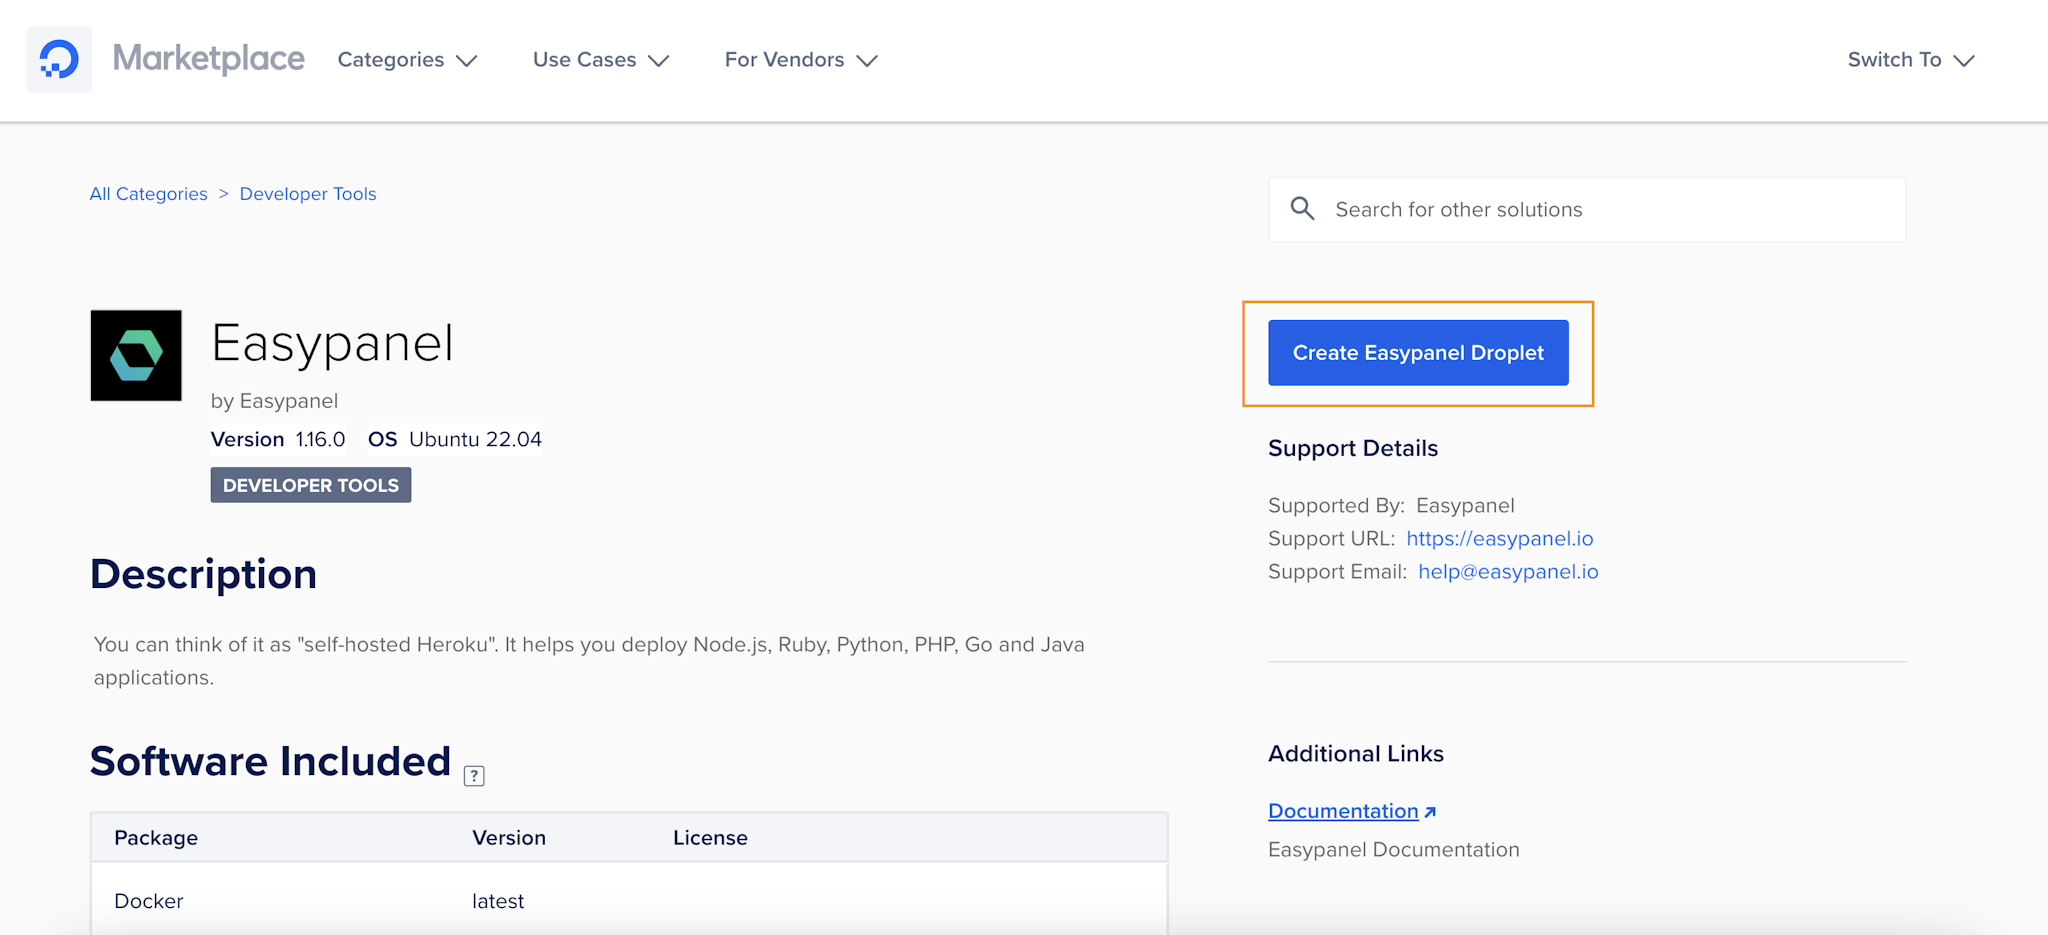
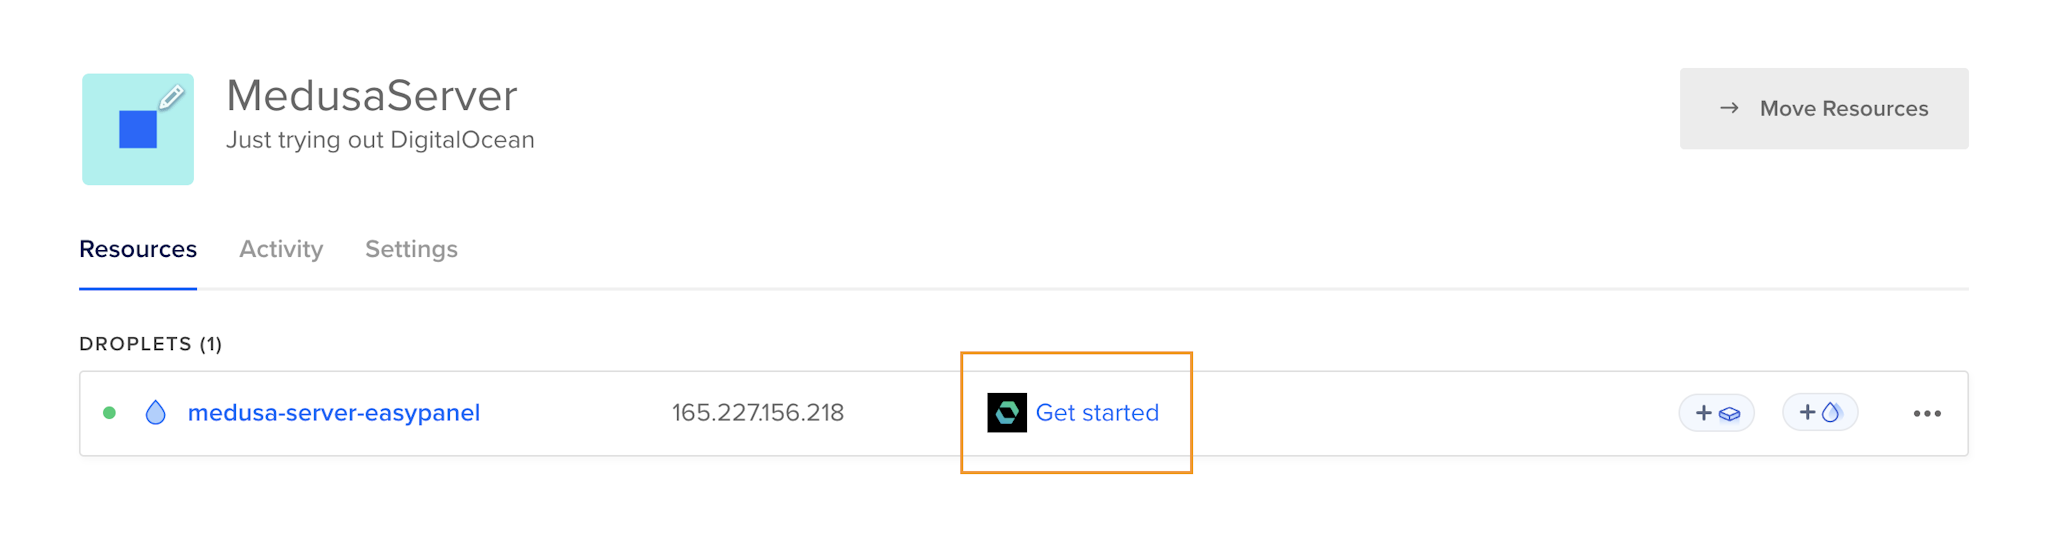
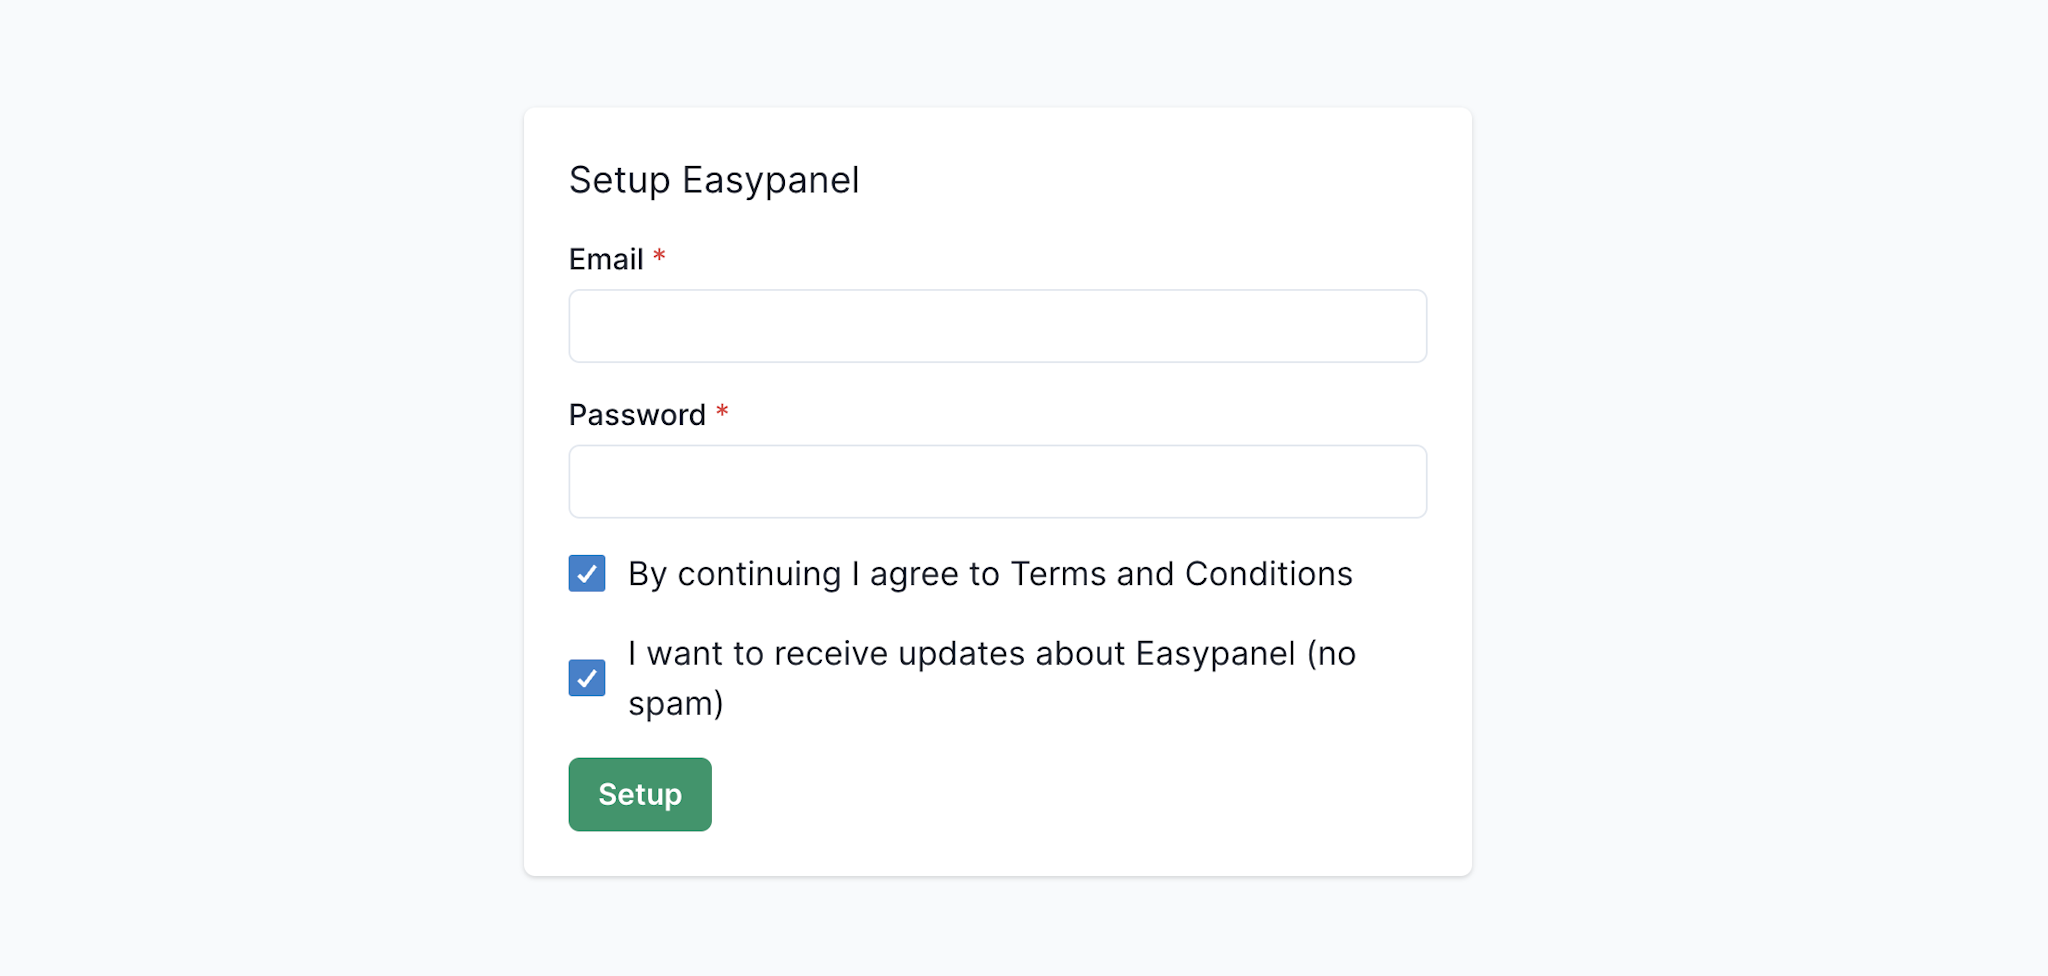
The quickest way to get started is through DigitalOcean's One-Click Marketplace. Choose the pre-configured Ubuntu setup with Easypanel to skip manual server setup and application installation.


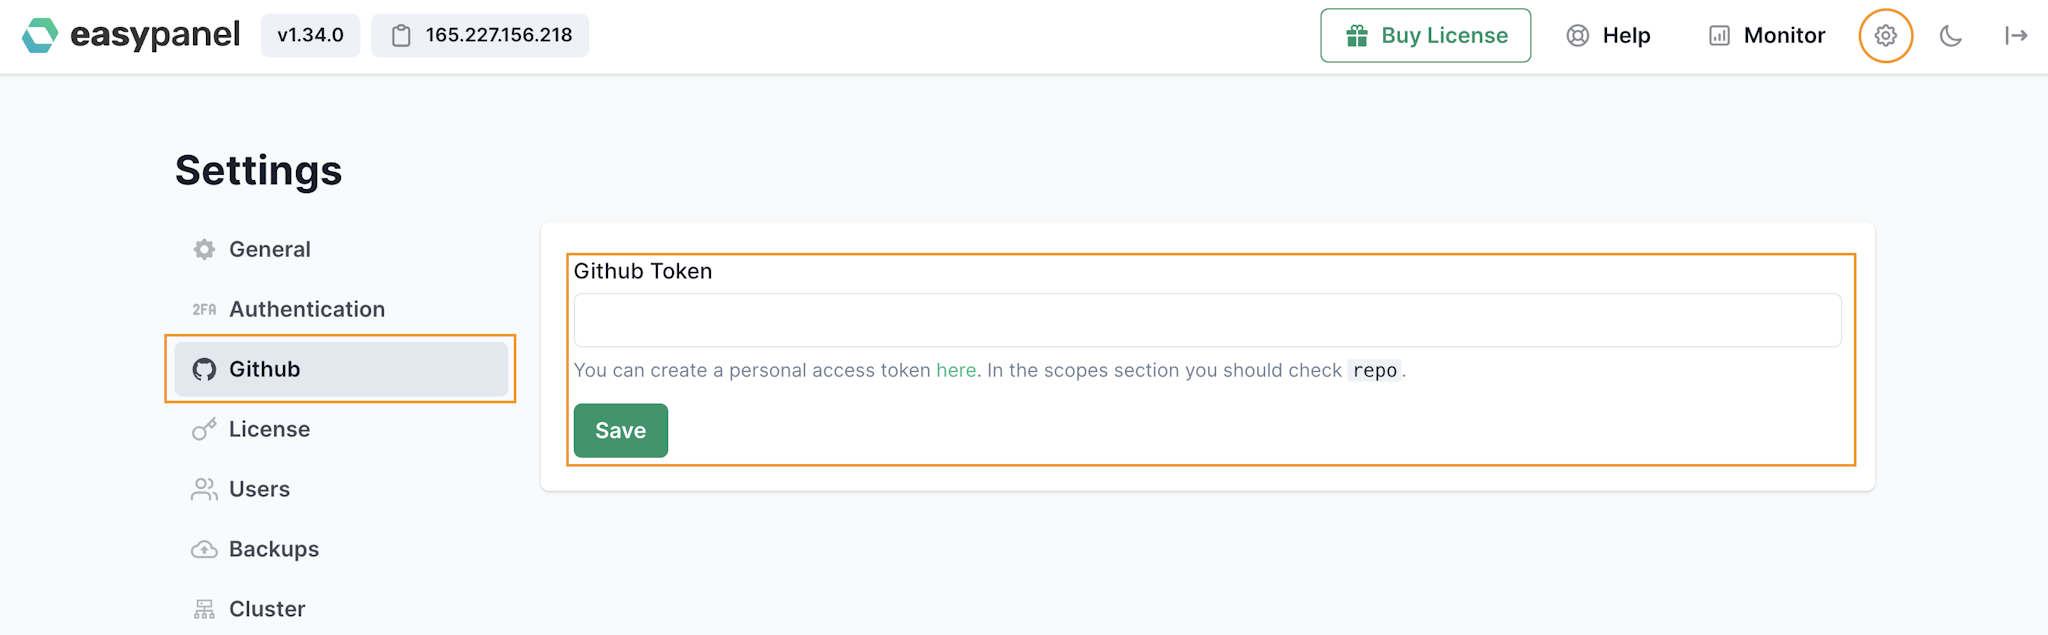
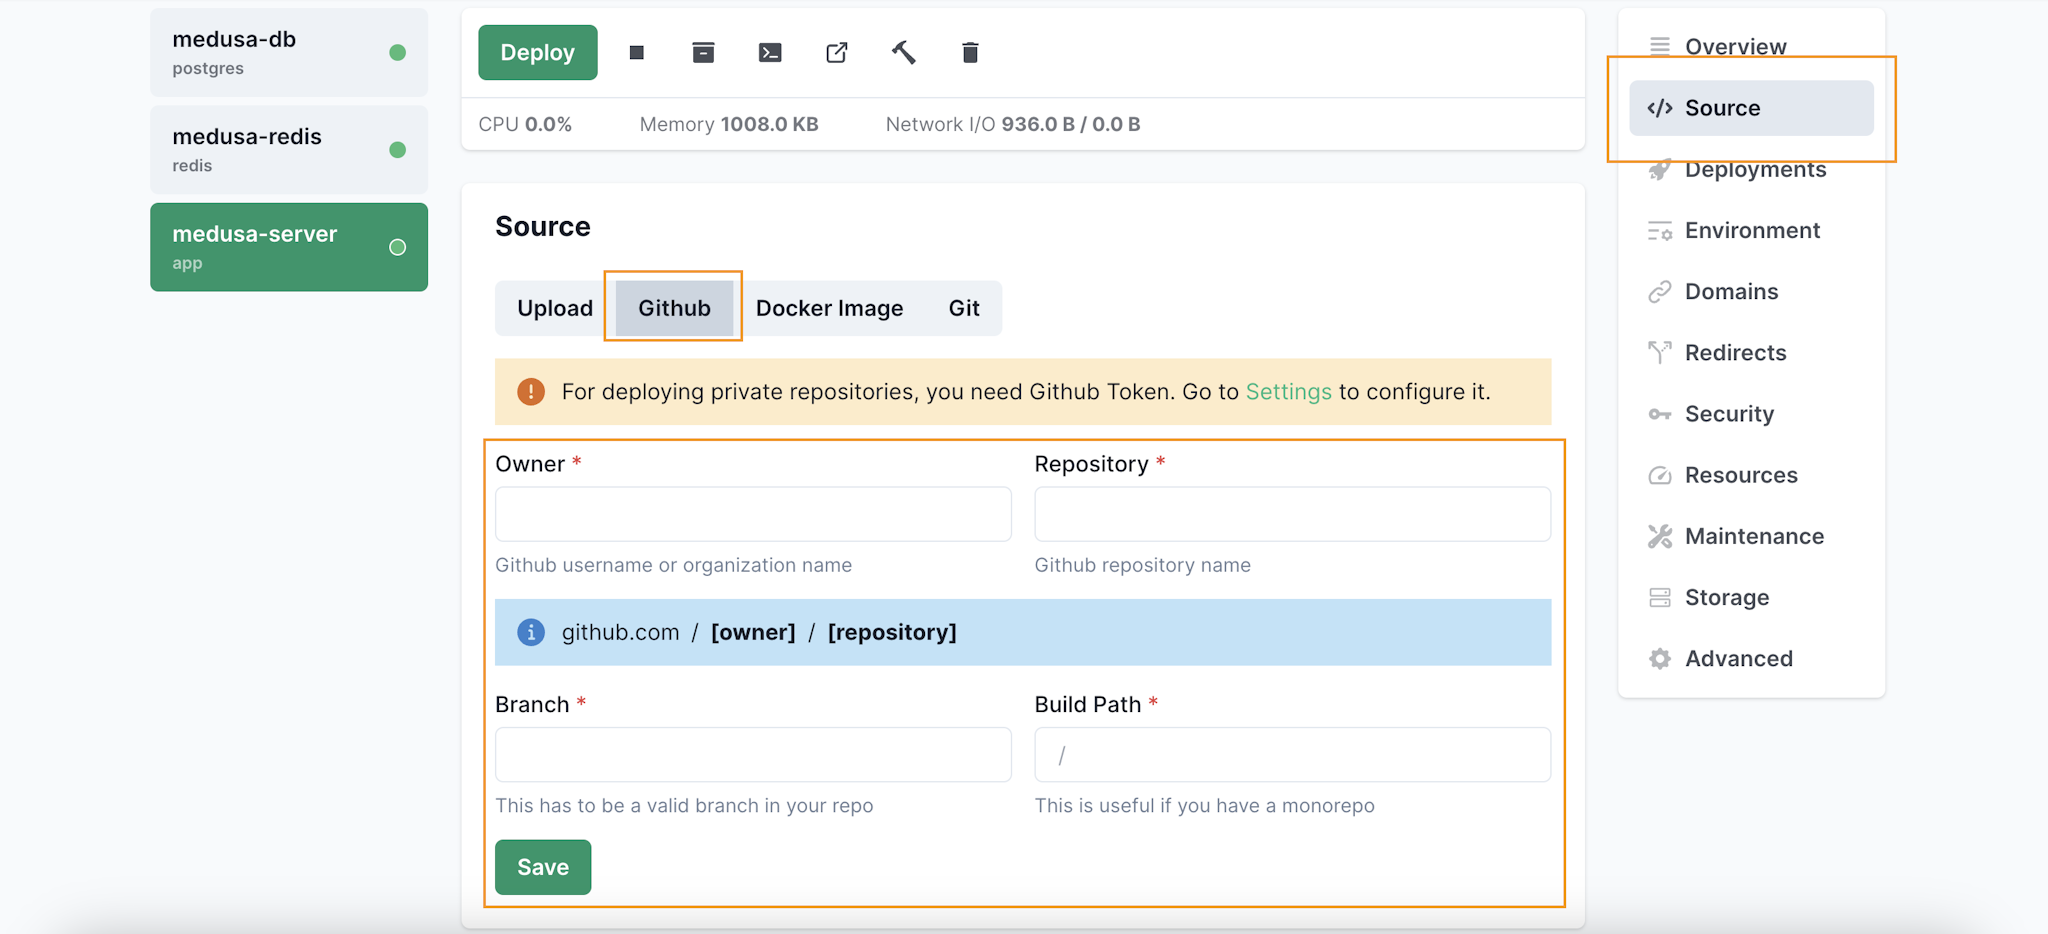
(Required for private repositories) In EasyPanel, go to settings and add your GitHub Token. If you don’t have one, create it here.
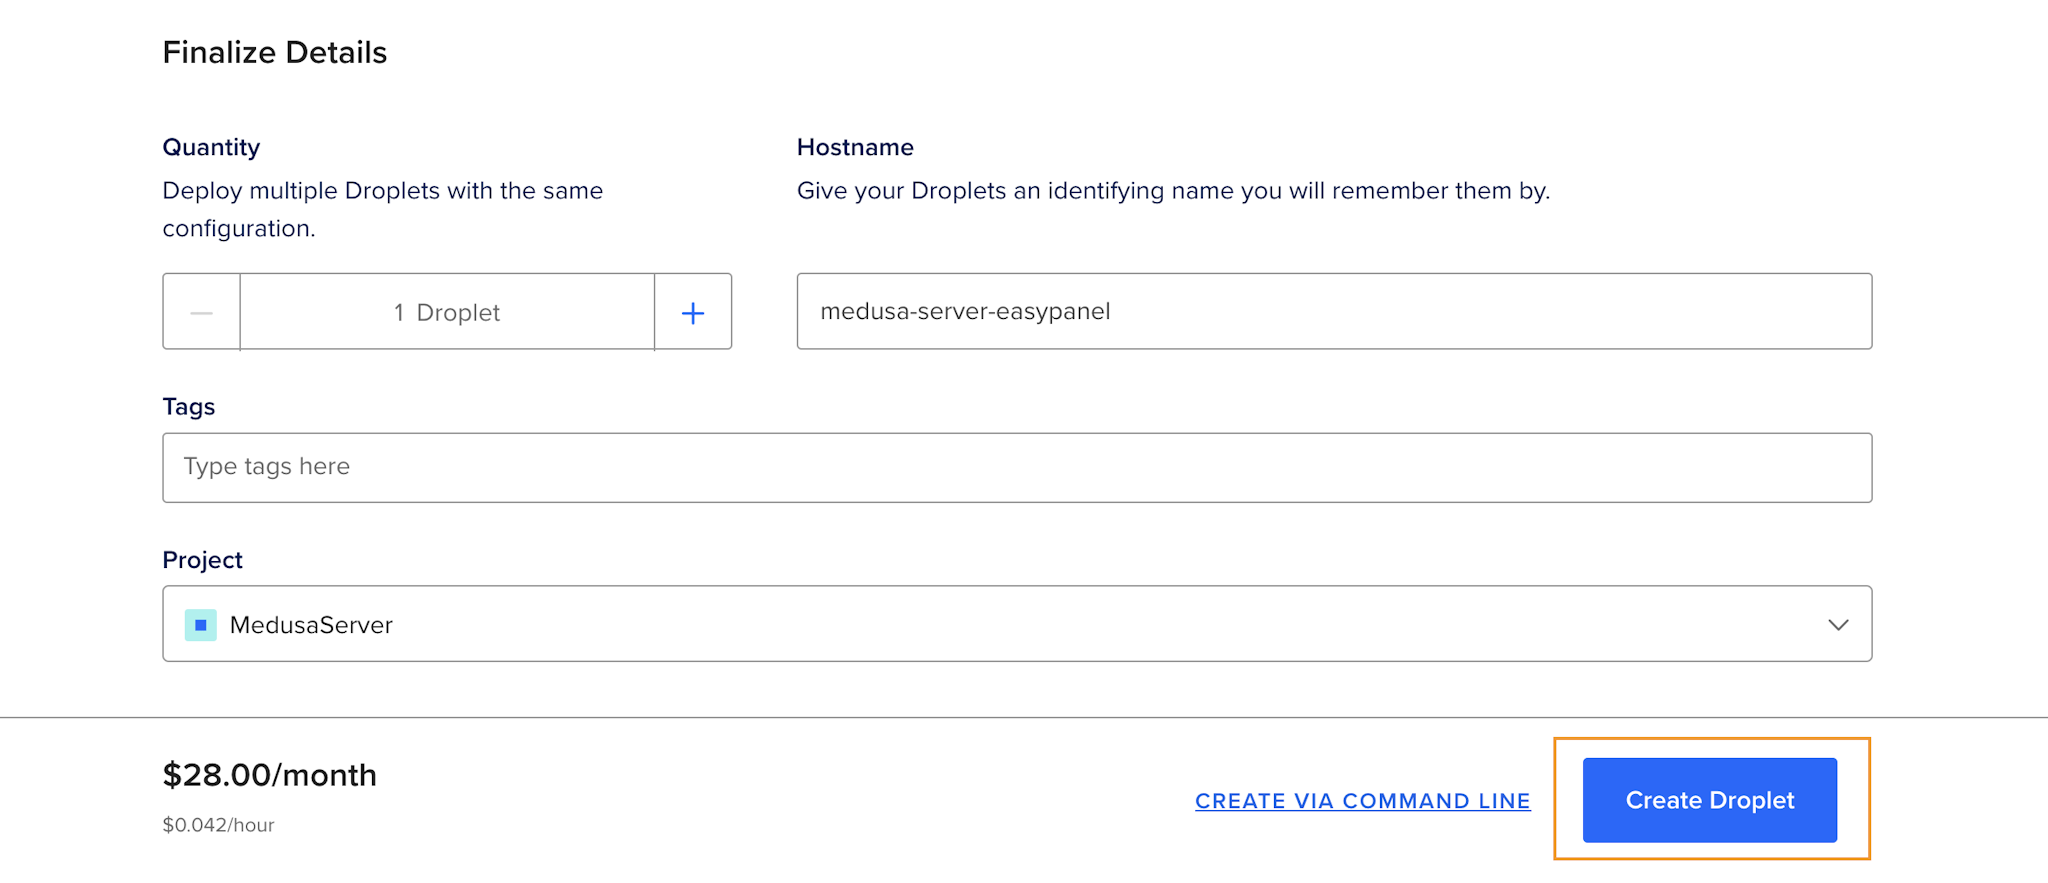
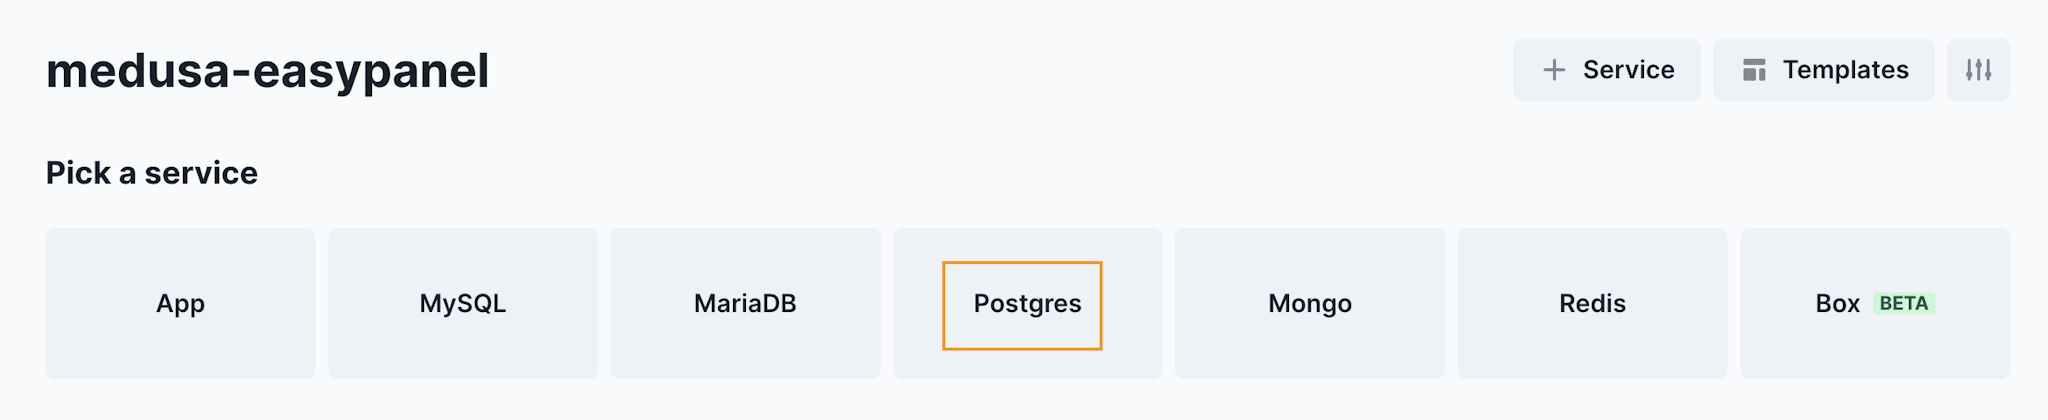
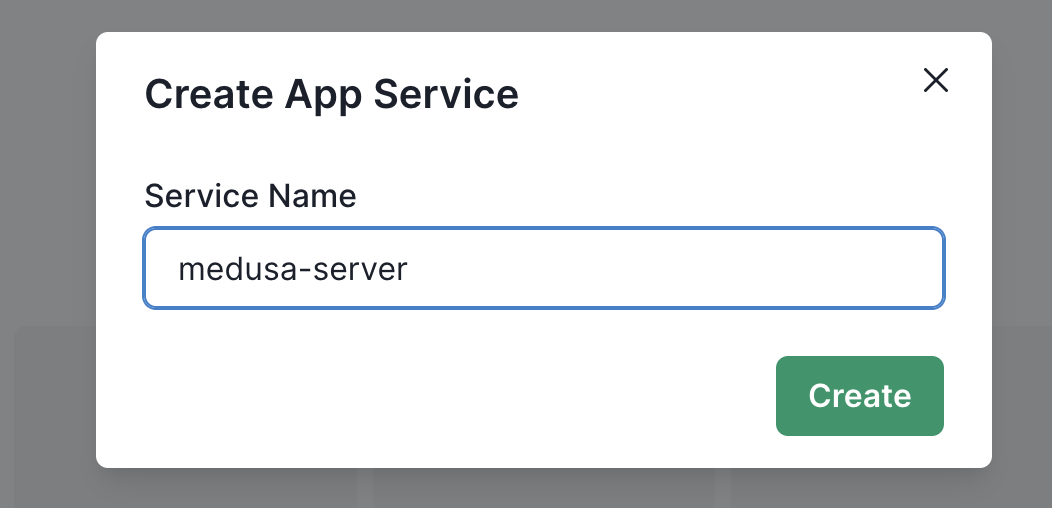
Click “Create project” and name it descriptively.

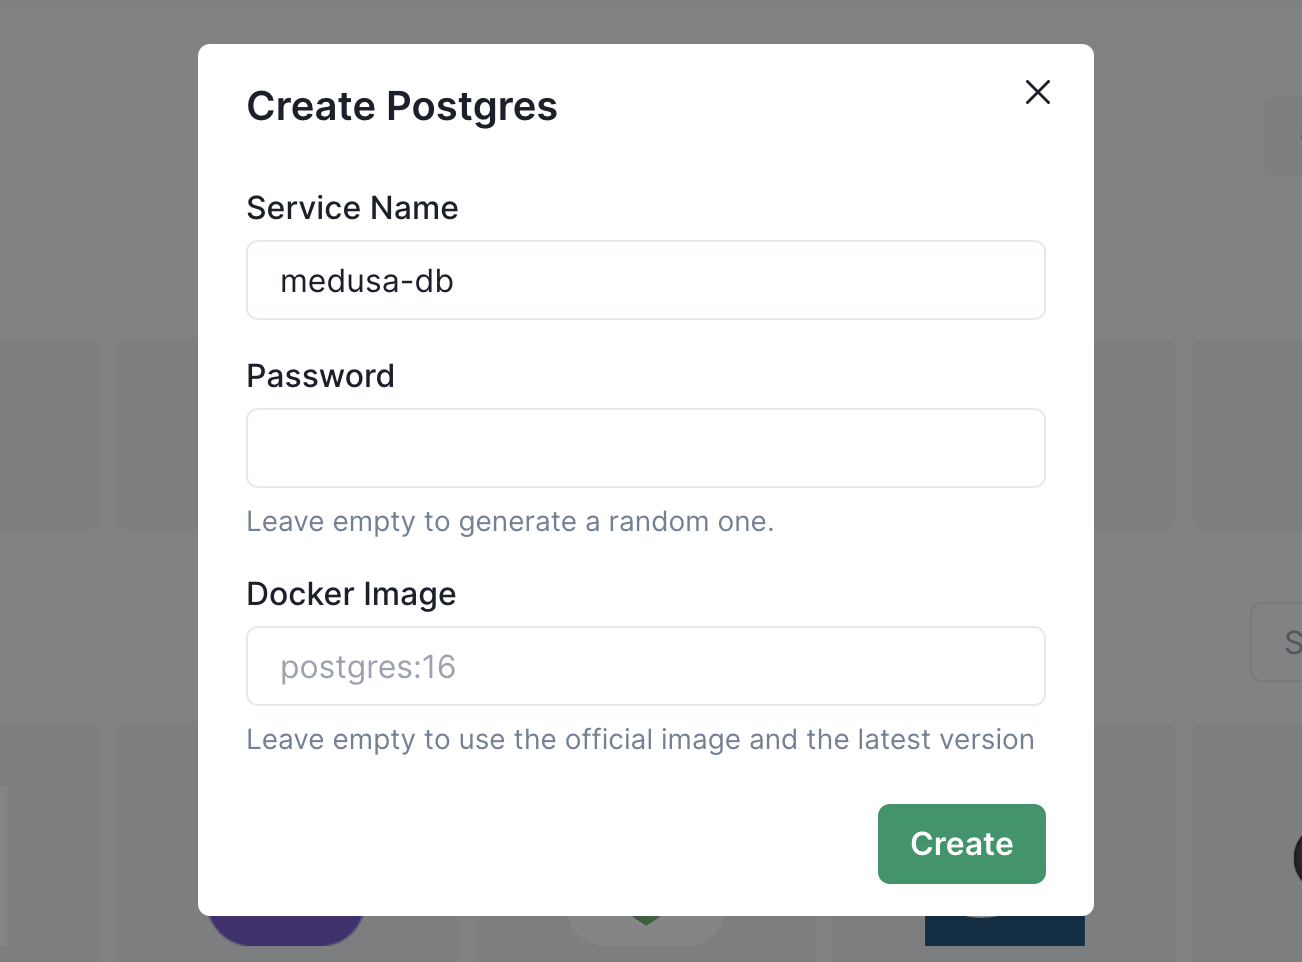
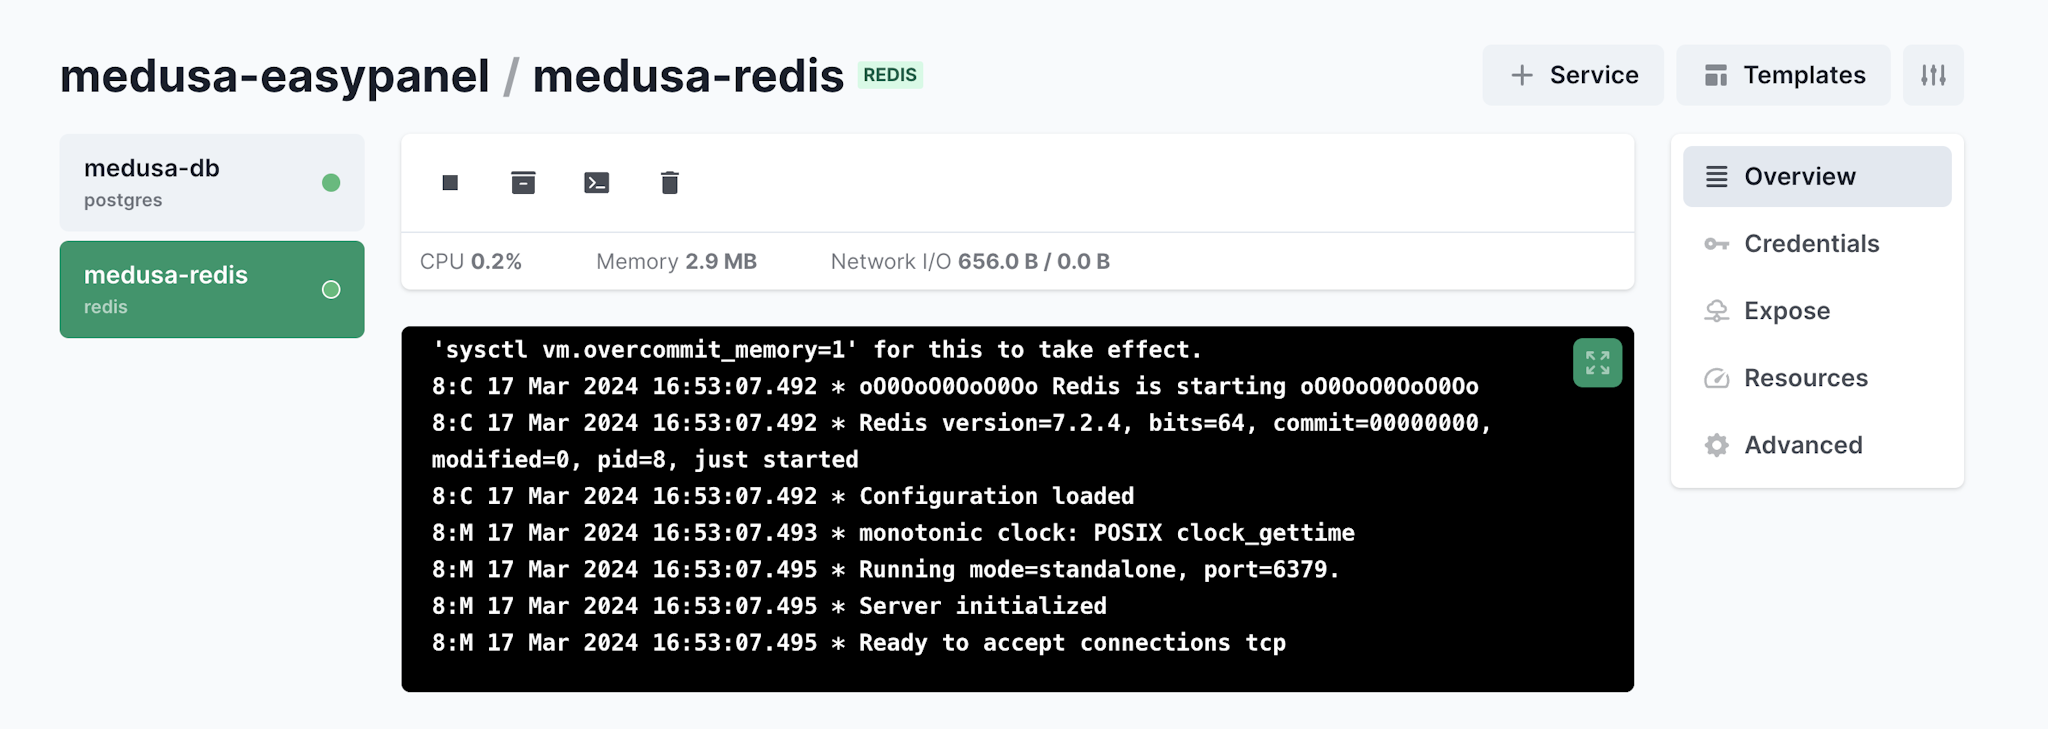

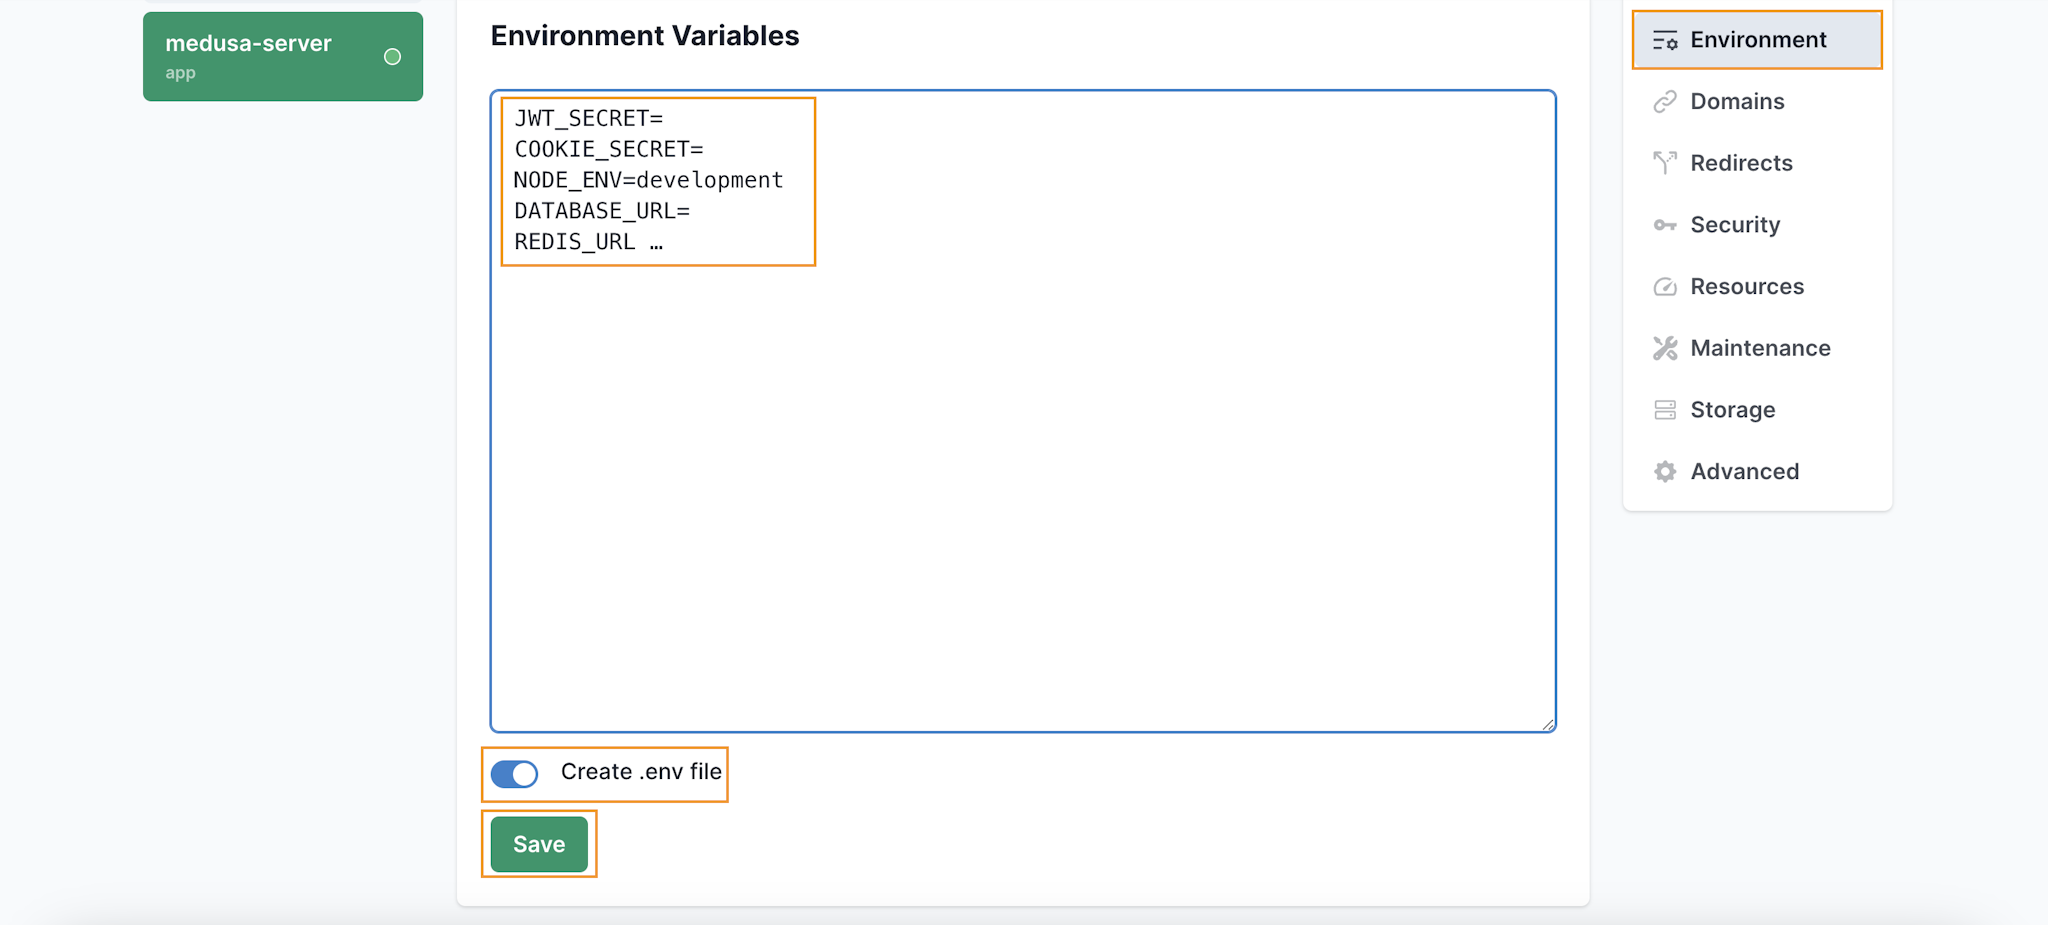
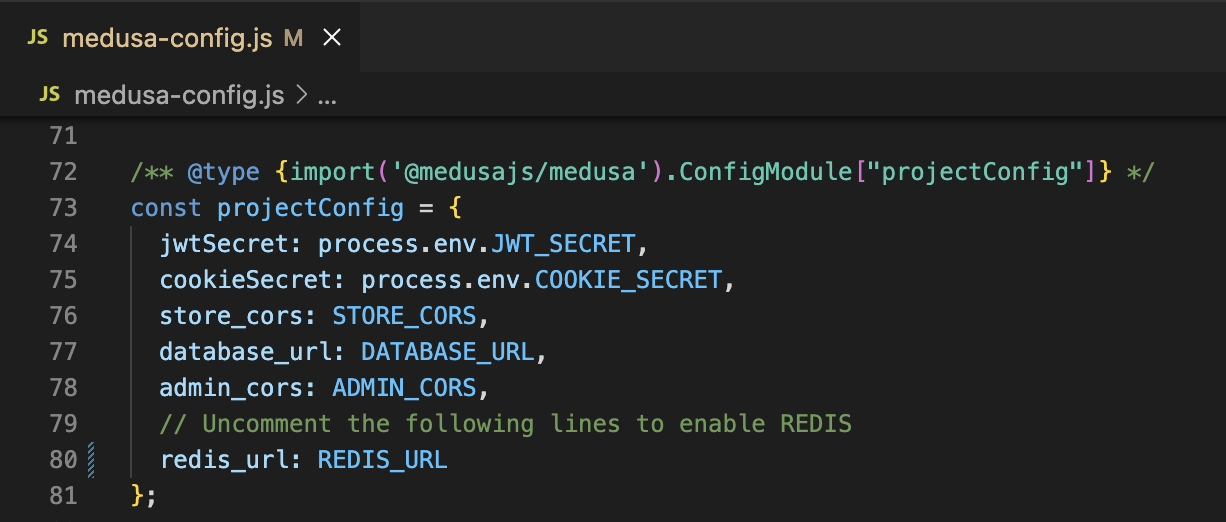
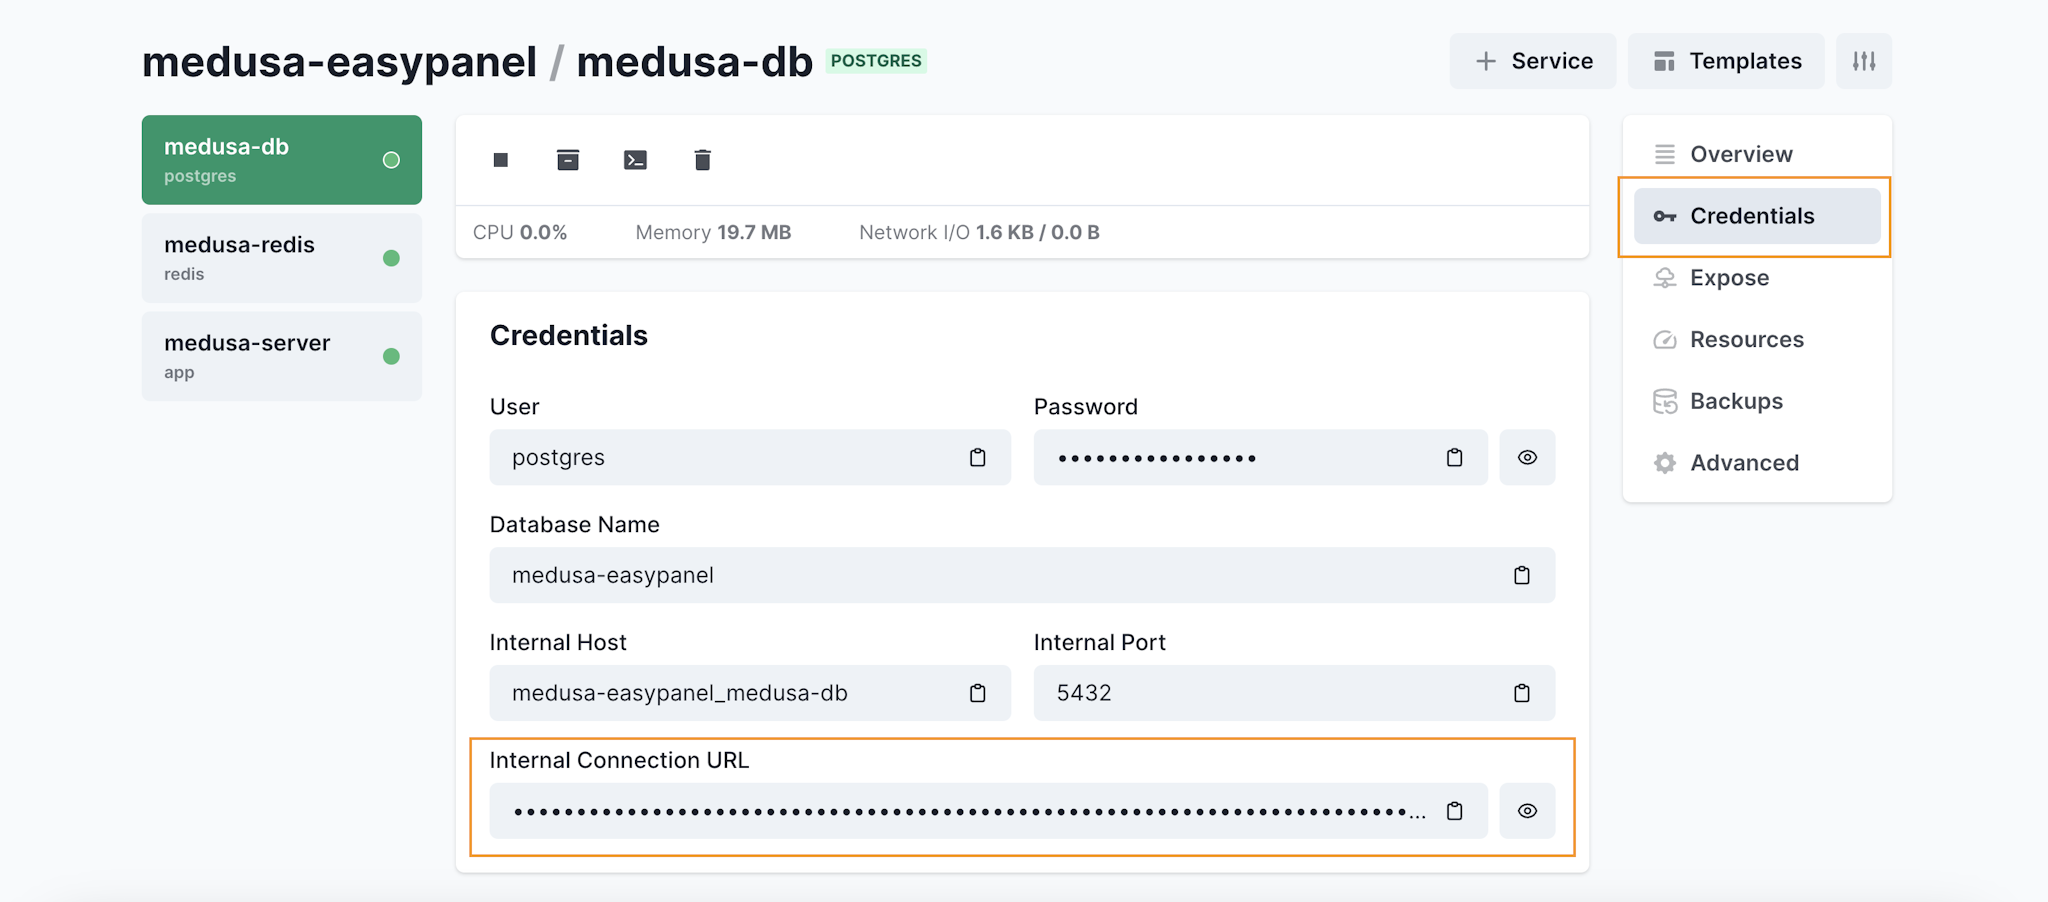
💡 Finding Your Database and Redis URLs
These are located in the credentials section of the containers you've set up.
With everything configured, hit Deploy and monitor the progress in the “Deployments” section.
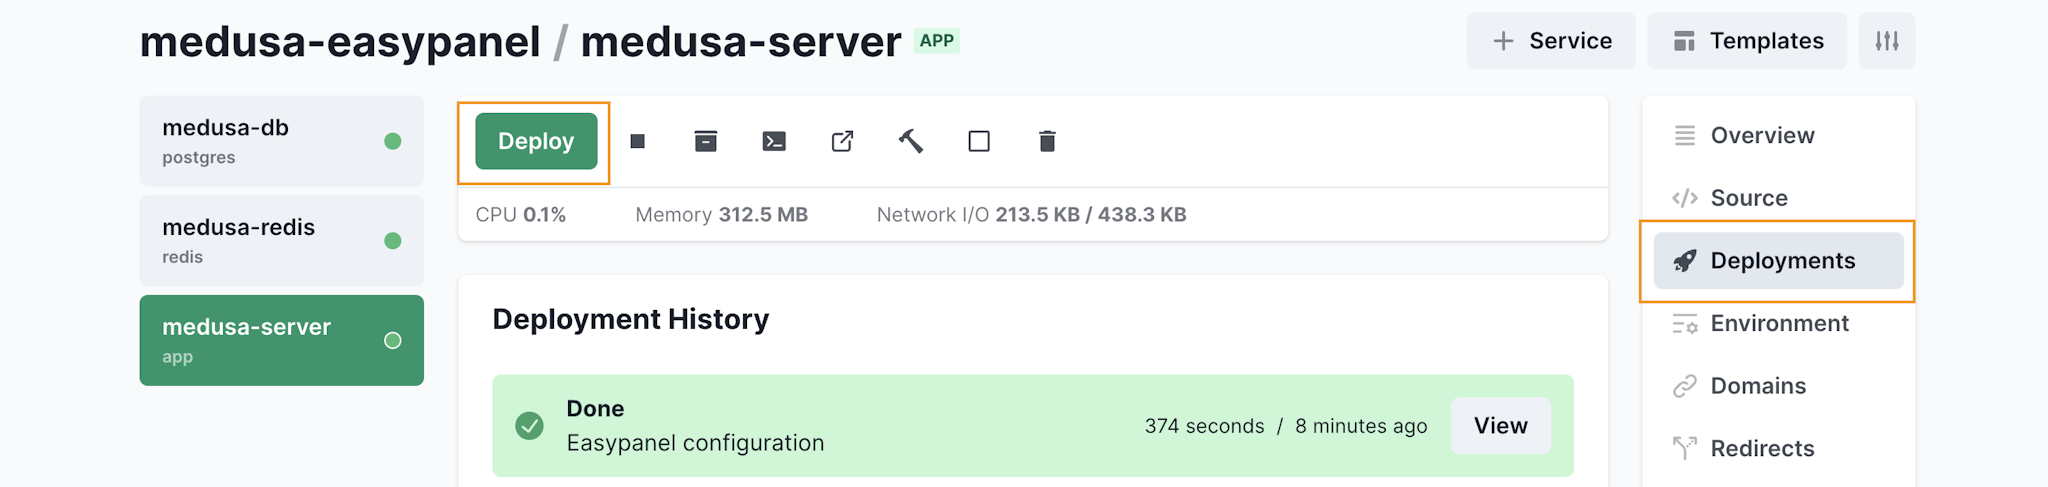

Your setup is complete! Opt for auto-deploy to keep your environment up-to-date with branch changes.

And that's it—you're all set for Medusa development! 🎉
But how to implement maintenance mode in Next.js? Is it as easy as configuring a plugin on WordPress for a few minutes? Of course it is!
Magento, compared to Medusa, may lead to higher long-term costs due to its licensing model and the risk associated with the gradual decline in the popularity of the PHP language...
Got a project in mind? Let's make it happen!

Co-CEO & Co-founder

Co-CEO & Co-founder