A Comprehensive Guide to Integrating Autopay as Payment Processor with Medusa
By Viktor Holik
By Viktor Holik

Autopay is one of the largest payment integration platforms in Poland, offering secure features for managing payment transactions within applications.
This guide demonstrates how to set up your Medusa project with Autopay as the chosen payment processor using the medusa-payment-autopay plugin.
Before proceeding with this guide, ensure you have created an Autopay account. You will later retrieve the API secrets from your account to connect Medusa to your Autopay account. Also, make sure you have installed the Medusa.js backend server.
Run the following command in the directory of the Medusa backend
yarn add medusa-payment-autopay
Set the following environment variables in .env file
AUTOPAY_URL=<YOUR_AUTOPAY_URL>
AUTOPAY_GENERAL_KEY=<YOUR_AUTOPAY_GENERAL_KEY>
AUTOPAY_SERVICE_ID=<YOUR_AUTOPAY_SERVICE_ID>
STORE_CORS=<YOUR_STOREFRONT_URL>
In medusa-config.js add the following at the end of the plugins array:
const plugins = [
  // other plugins...
  {
    resolve: `medusa-payment-autopay`,
    options: {
      autopay_url: process.env.AUTOPAY_URL,
      general_key: process.env.AUTOPAY_GENERAL_KEY,
      service_id: process.env.AUTOPAY_SERVICE_ID,
      store_cors: process.env.STORE_CORS,
    },
  },
];
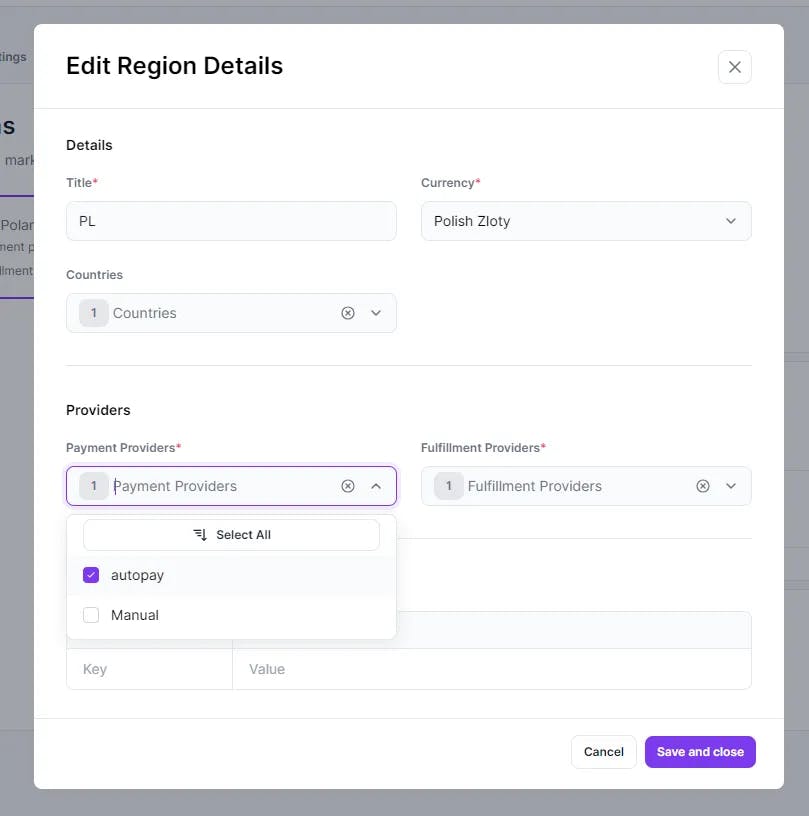
Run yarn dev and go to your admin panel > Setting > Regions and click Edit Region Details
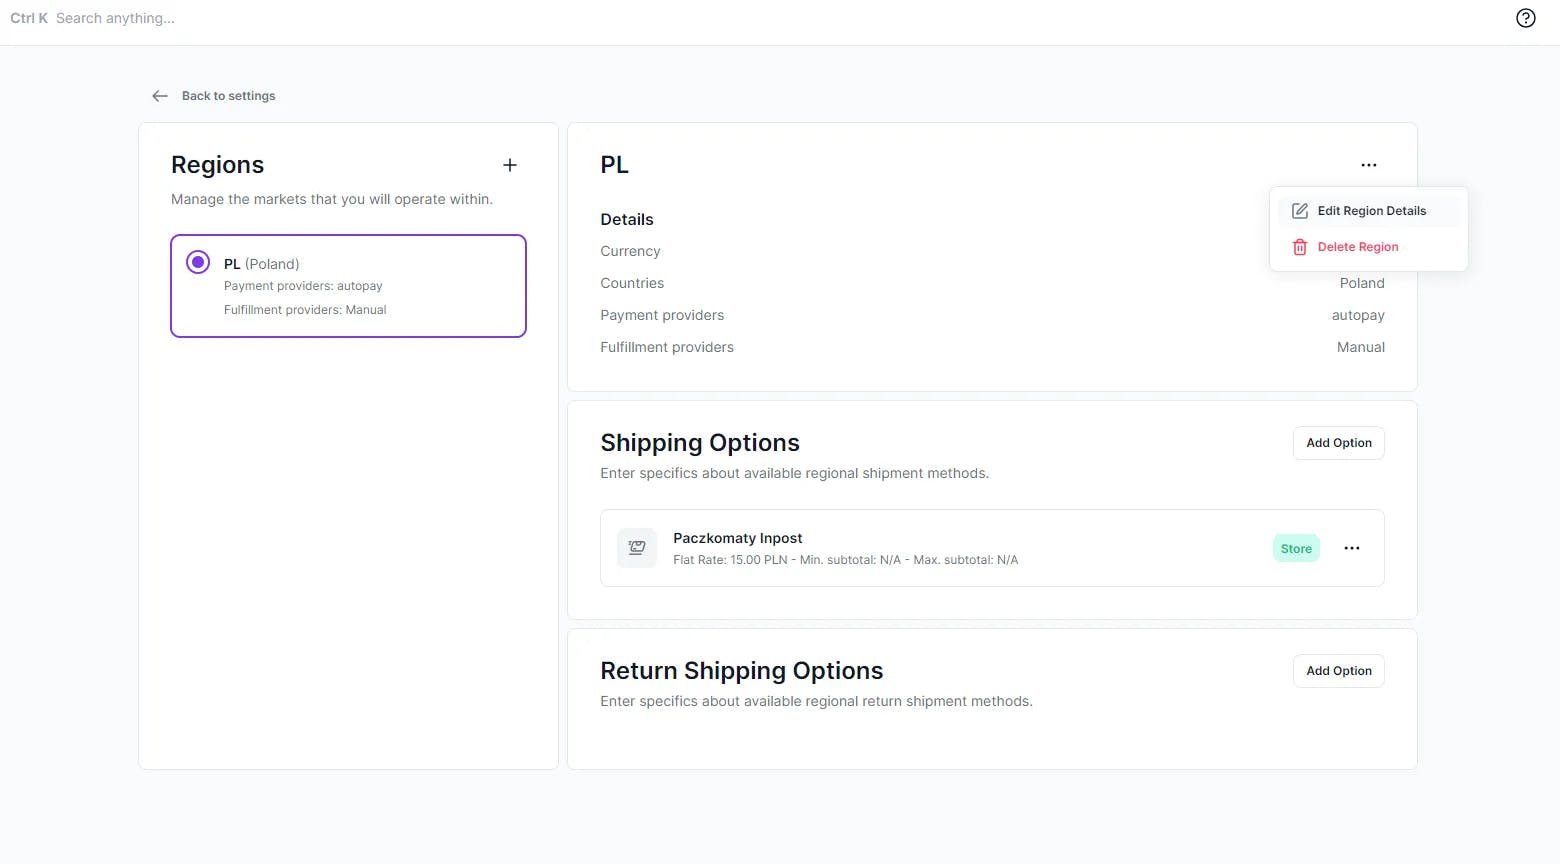
Ensure you have selected “autopay” in payment providers and chosen a supported currency (PLN, EUR, GBP, USD). Click save and close.
Note: This step is optional. If you do not set the gateway ID in the cart context, you will be redirected to the Autopay payment list where you can select a payment channel.
Now, let’s go to our storefront (Next.js) and implement choosing a payment channel (e.g., BLIK, Przelewy24, etc.).
Let’s first create an axios instance and Medusa instance:
// utils/api.ts
import axios from "axios"
import Medusa from "@medusajs/medusa-js"

const $api = axios.create({ baseURL: MEDUSA_BACKEND_URL })
const $medusa = new Medusa({ baseUrl: MEDUSA_BACKEND_URL, maxRetries: 3 })
Add a React Query hook to retrieve Autopay payment channels:
// hooks/use-autopay-channels.ts
import { $api } from "../utils/api"
import { useQuery } from "@tanstack/react-query"

type GatewayListResponse = {
  gatewayList: [
    {
      gatewayID: number
      gatewayName: string
      gatewayType: string
      bankName: string
      iconURL: string
      state: string
      stateDate: string
      gatewayDescription: null | string
      inBalanceAllowed: boolean
      currencyList: { currency: string }[]
    }
  ]
}

export const useAutopayChannels = (cartId: string) =>
  useQuery<GatewayListResponse>(
    ["autopay-channels", cartId],
    () => $api.get(`/store/autopay/${cartId}/gateways`).then((res) => res.data)
  )
Now, use it in our payment component:
import { RadioGroup } from "@headlessui/react"
import Radio from "../components/Radio"
import Button from "../components/Button"
import { useAutopayChannels } from '../hooks/use-autopay-channels'
import { $medusa } from '../utils/api'
import { Cart } from '@medusajs/medusa'

const PaymentSection = ({cart}: {cart: Cart}) => {
  const [selectedPaymentChannel, setSelectedPaymentChannel] = useState<null | string>(cart.context?.provider_id as string ?? null)
  const { data: paymentChannels, isLoading } = useAutopayChannels(cart.id)

  const changeAutopayGateway = (gatewayId: string) => {
    setSelectedPaymentChannel(gatewayId)
  }

  const onSubmit = () => {
    // Setting payment channel so user
    // will automatically redirected to payment channel website
    $medusa.carts.update(cart.id, {
      context: {
        gateway_id: gatewayId
      }
    })
  }

  if (isLoading || updatingCart) return <Loader />

  return (
      <>
        <RadioGroup
              value={null}
              onChange={changeAutopayGateway}
            >
              {data.gatewayList.map((paymentChannel) => {
                return (
                  <RadioGroup.Option
                    key={paymentChannel.gatewayID}
                    id={paymentChannel.gatewayID}
                    name={paymentChannel.gatewayName}
                    selectedPaymentOptionId={selectedAutopayGateway}
                  >
                    <div className="flex items-center justify-between ">
                      <div className="flex items-center gap-x-4">
                        <Radio checked={selectedPaymentOptionId === id} />
                         {paymentChannel.gatewayName}
                       </div>
                    </div>
                  </RadioGroup.Option>
                )
              })}
        </RadioGroup>
        <Button onClick={changeAutopayGateway}>Next</Button>
      </>
  )
}
Now, create a submit button for your cart and add a handler function:
import Button from '../components/Button'
import { $medusa } from '../utils/api'
import { Cart } from '@medusajs/medusa'
import Router from "next/router";

const SubmitButton = ({cartId}: {cartId: string}) => {
  const router = useRouter()

  const submitCart = async () => {
    // Handle other things like adresses and email...
    await $medusa.carts.createPaymentSessions(cartId);

    // Complete a cart to create a pending order
    // and redirect to Autopay page
    $medusa.carts.complete(cartId).then(({ cart }) => {
      const redirectUrl = cart.payment_session.data.redirect_url;
      router.replace(redirectUrl);
    });
  }

  return (
    <Button onClick={submitCart}>Buy</Button>
  )
}
Now, place a SubmitButton component in your checkout. After clicking on it, you will be redirected to the payment channel you've chosen. After a successful payment, you will see the paid order in your admin panel.
I hope you found this article helpful :).
But how to implement maintenance mode in Next.js? Is it as easy as configuring a plugin on WordPress for a few minutes? Of course it is!
Magento, compared to Medusa, may lead to higher long-term costs due to its licensing model and the risk associated with the gradual decline in the popularity of the PHP language...
Got a project in mind? Let's make it happen!

Co-CEO & Co-founder

Co-CEO & Co-founder