Adding Custom Attributes in Medusa.js (Part 2 - UI)
By Viktor Holik
By Viktor Holik

Welcome back to the second part of our journey into Medusa.js! In the first part, we learned how to add plugin in our Medusa.js backend and add attributes. If you missed that, go check it out.
Since that part I developed new feature — range attribute. Now, let’s dive into the fun part — making our app look even better.
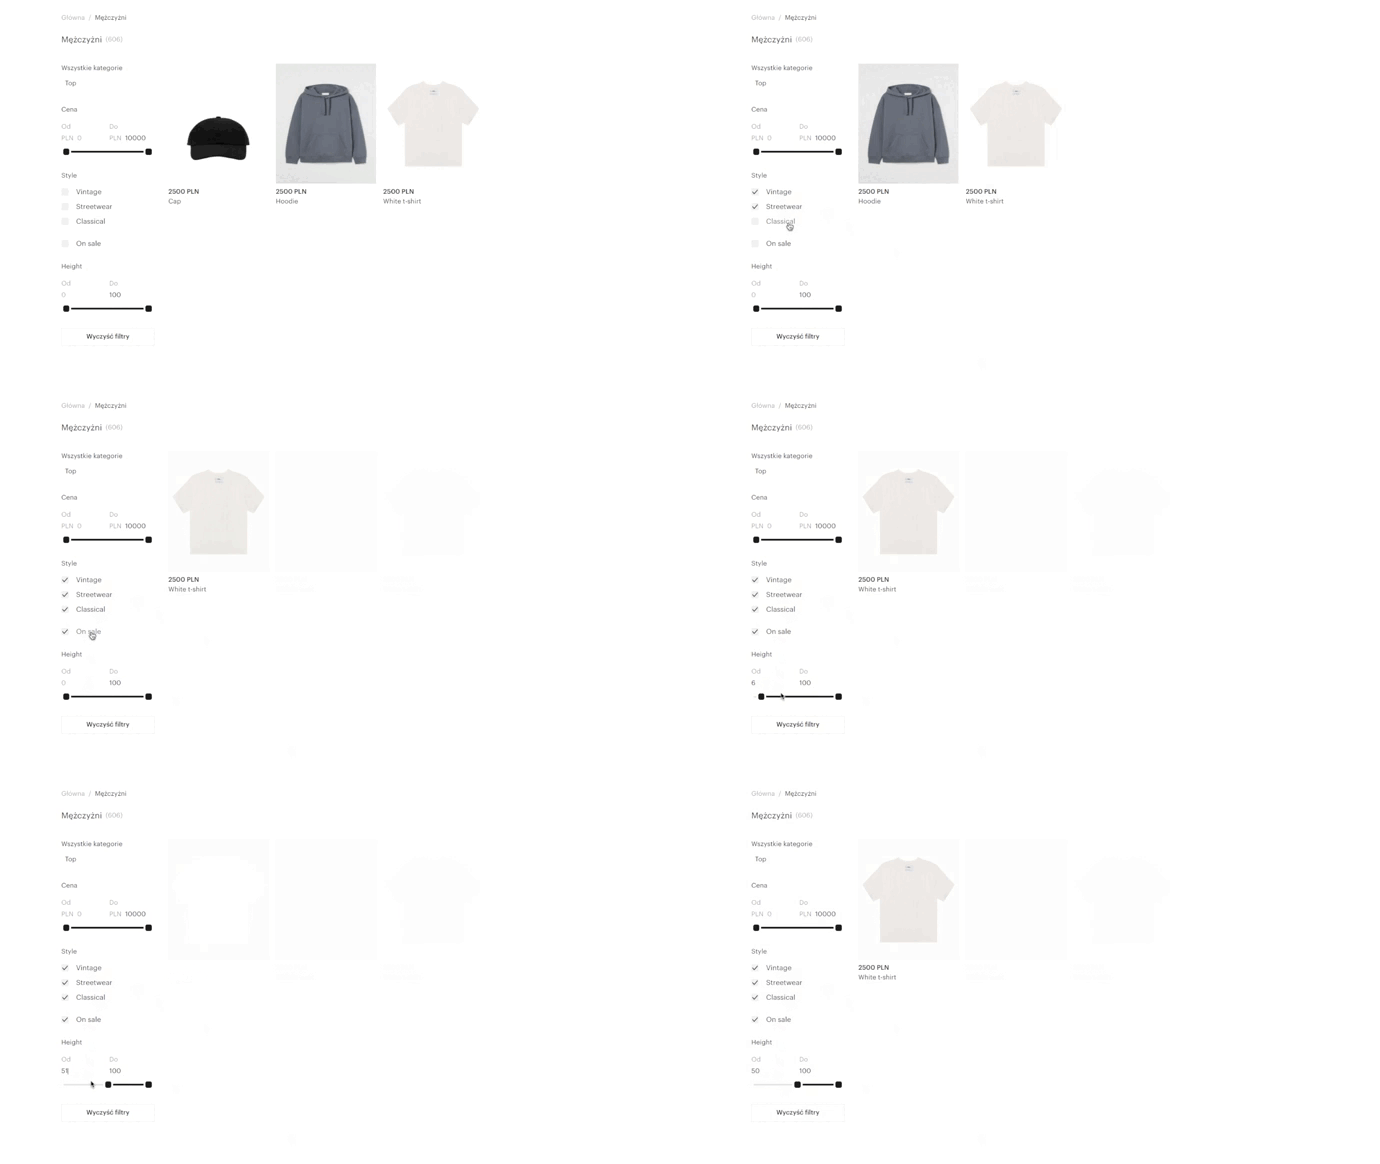
In this article, we’re going to focus on adding some neat filters to the user interface. For this, we’ll be using Next.js 13.5 with page routing and the latest Medusa backend.
To begin, we’ll enhance our admin dashboard by incorporating additional attributes such as “style,” “on sale,” and “height.” These attributes act as markers to better categorize our products.
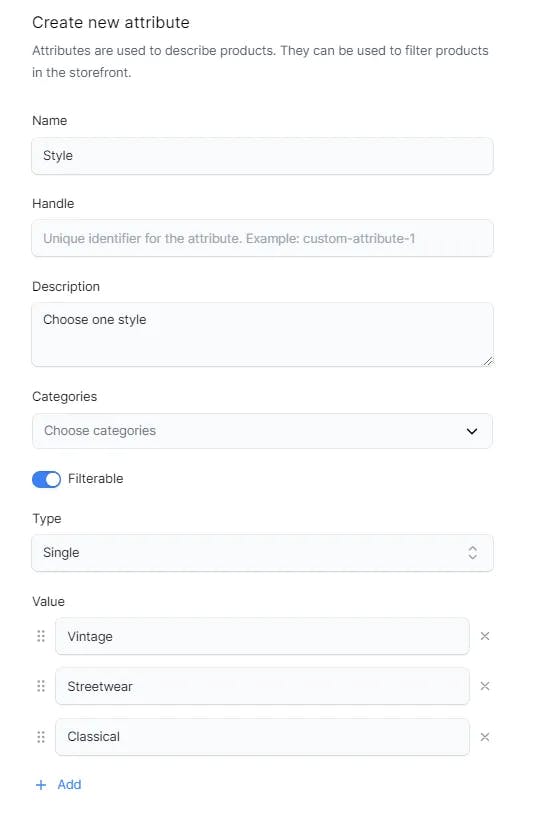
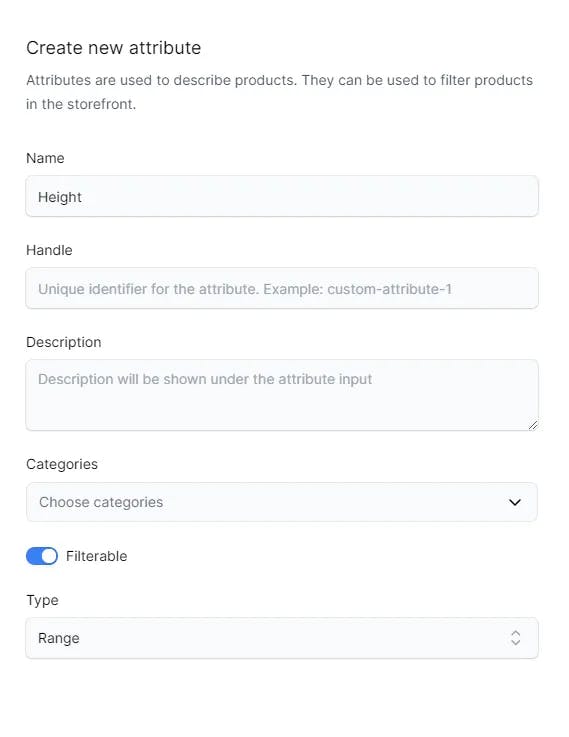
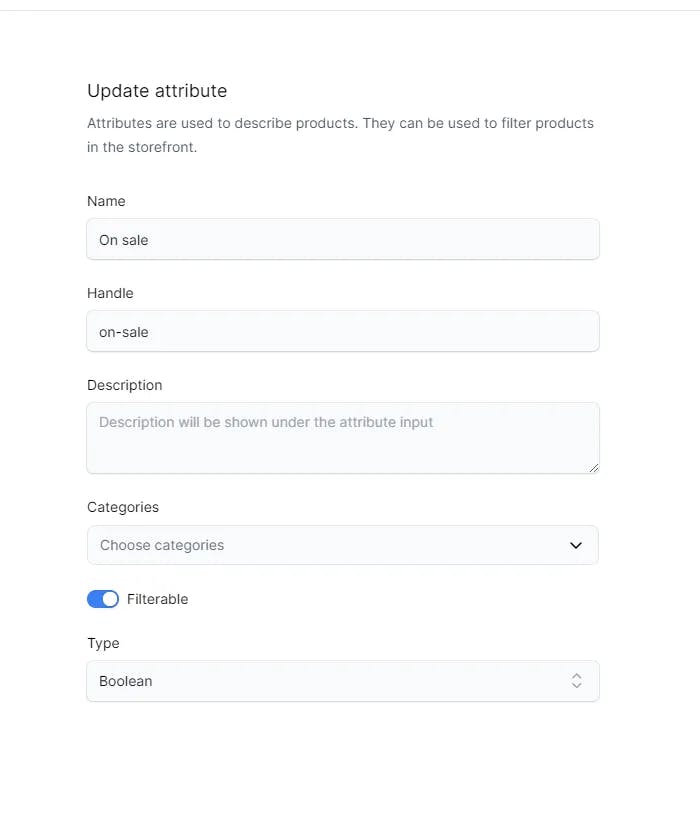
Once added, we’ll navigate to the products section to apply these markers.
Upon inspecting the /store/products route using Postman, you’ll encounter a response resembling the following (I’ve kept it concise for clarity):
 {
    "products": [
        {
            "id": "prod_01HER131GM72MNSC4BQ7QXNYDP",
            "title": "Cap",
            // attribute_values are single, boolean and multiple type attributes
            "attribute_values": [
                {
                    "id": "attr_val_01HEQS1GY28ZQ4R0P2BTJG55VG",
                    "value": "Streetwear",
                    "attribute": {
                        "id": "attr_01HEQS1GY2353DC4FT8XK9R8DY",
                        "name": "Style",
                        "type": "single"
                    }
                }
            ],
            // int_attributes_values are range attributes
            "int_attribute_values": [
                {
                    "id": "int_attr_val_01HER14ZKFG2TVET62G8F1V05G",
                    "value": 20,
                    "attribute": {
                        "id": "attr_01HEQV5KH63GDDN9G7HXR1XE7V",
                        "name": "Height"
                    }
                }
            ]
        },
        {
            "id": "prod_01HER110FNS3RTPNKG3WMGNPBS",
            "title": "Hoodie",
            "attribute_values": [
                {
                    "id": "attr_val_01HEQS1GY2W21C6W4NW26VNNQB",
                    "value": "Vintage",
                    "attribute": {
                        "id": "attr_01HEQS1GY2353DC4FT8XK9R8DY",
                        "name": "Style",
                        "type": "single"
                    }
                }
            ],
            "int_attribute_values": [
                {
                    "id": "int_attr_val_01HER159V9B0HEEFSBGNWT0X12",
                    "value": 70,
                    "attribute": {
                        "id": "attr_01HEQV5KH63GDDN9G7HXR1XE7V",
                        "name": "Height"
                    }
                }
            ]
        },
        {
            "id": "prod_01HEQV4Z3D09KZCME3Y3WECNF8",
            "title": "White t-shirt",
            "attribute_values": [
                {
                    "id": "attr_val_01HEQS72F71B018W3G8J8MG340",
                    "value": "On sale",
                    "attribute": {
                        "id": "attr_01HEQS72F7KDQCTEVAQ0EG5GS8",
                        "name": "On sale",
                        "type": "boolean"
                    }
                },
                {
                    "id": "attr_val_01HEQS1GY28ZQ4R0P2BTJG55VG",
                    "value": "Streetwear",
                    "attribute": {
                        "id": "attr_01HEQS1GY2353DC4FT8XK9R8DY",
                        "name": "Style",
                        "type": "single"
                    }
                }
            ]
        }
    ]
}
Now, let’s focus on configuring our Next.js application. In this guide, we’ll prioritize functionality over aesthetics, as the styling has already been addressed.
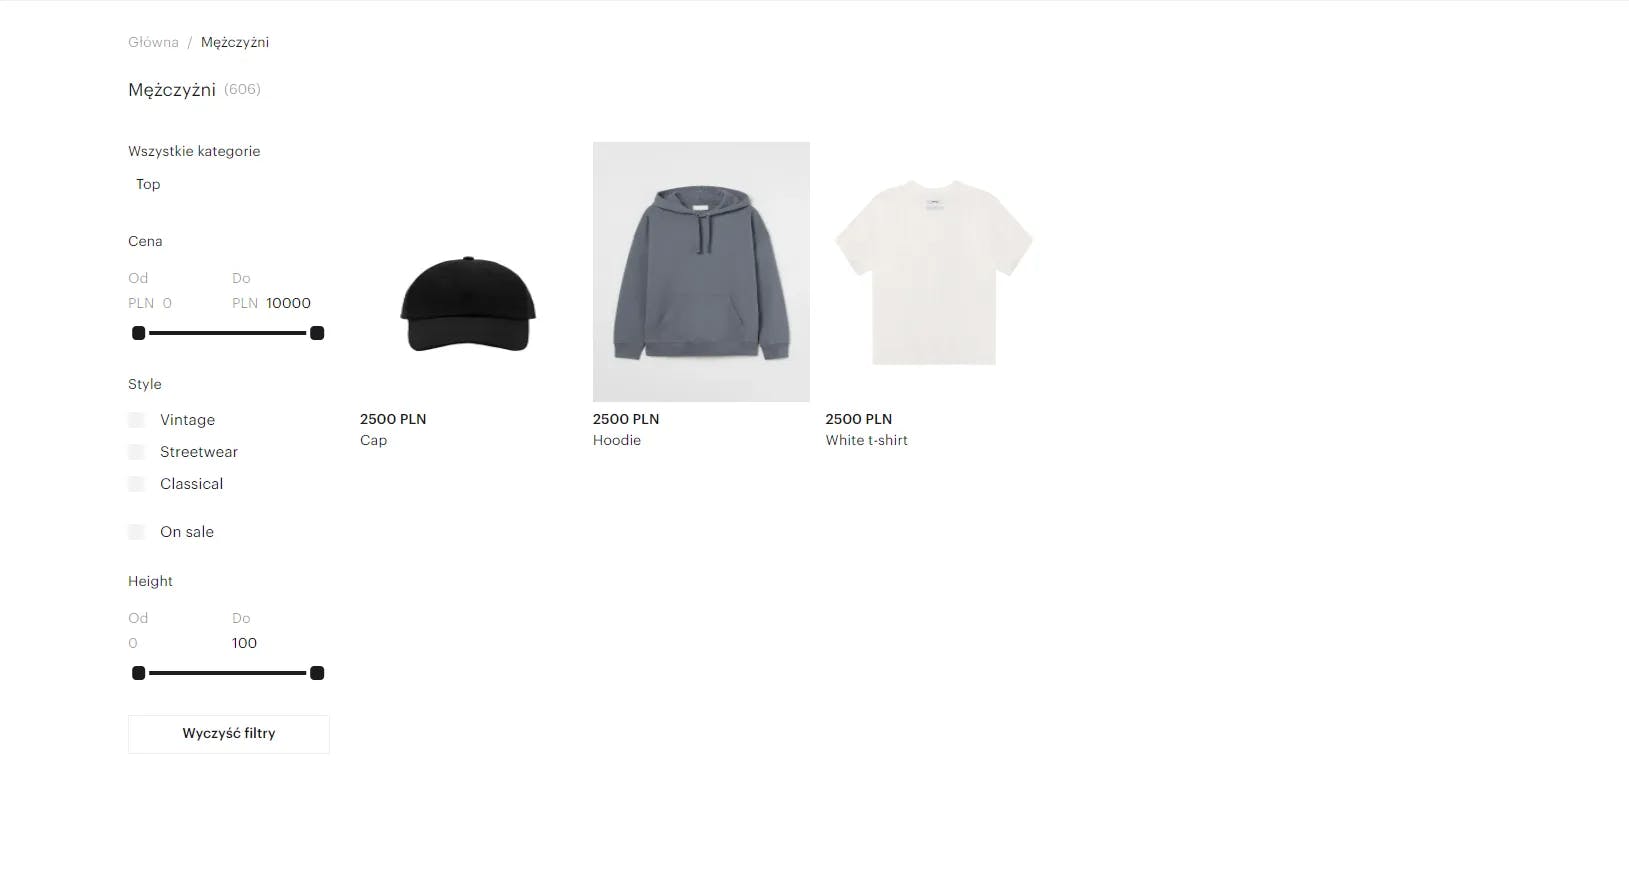
To optimize our application, we’ll establish a filters context to manage the application’s state efficiently.
import React from "react";

interface ProductFiltersContextProps {
  attributes?: Record<string, string[]> | null;
  intAttributes?: Record<string, number[]> | null;
  setAttributes?: React.Dispatch<React.SetStateAction<Record<string, string[]> | null>>
  setIntAttributes?: React.Dispatch<
    React.SetStateAction<Record<string, number[]> | null | undefined>
  >;
}

const ProductFiltersContext = React.createContext<ProductFiltersContextProps>(
  {}
);


interface ProductFiltersProviderProps {
  initialValues: ProductFiltersContextProps;
  children: React.ReactNode;
}

export const ProductFiltersProvider = ({
  children,
  initialValues,
}: ProductFiltersProviderProps) => {
  const {
    attributes: initialAttributes,
    intAttributes: initialIntAttributes, // Range attributes
  } = initialValues;

  const [intAttributes, setIntAttributes] =
    React.useState<Record<string, number[]>>(initialIntAttributes ?? {});

  const [attributes, setAttributes] = React.useState<Record<
    string,
    string[]
  > | null>(initialAttributes ?? {});

  return (
    <ProductFiltersContext.Provider
      value={{
        attributes,
        setAttributes,
        intAttributes,
        setIntAttributes,
      }}
    >
      {children}
    </ProductFiltersContext.Provider>
  );
};

export const useProductFilters = () => {
  const context = React.useContext(ProductFiltersContext);

  return context;
};
Here is attribute filters component
export const AttributeFilters = React.memo((props: ProductFiltersProps) => {
  const { className } = props;
  const {
    setAttributes,
    attributes,
    intAttributes,
    setIntAttributes,
  } = useProductFilters();

  // Custom hook to fetch "/store/attributes" route
  const { attributes: customAttributes } = useAttributes();

  return (
    <VStack
      className={classnames(cls.AttributeFilters, {}, [className])}
      gap="32"
    >
      {customAttributes?.map((attribute) => {
        if (attribute.type === "boolean") {
          const checked = attributes?.[attribute.handle] ?? false;

          return (
            <Checkbox
              key={attribute.id}
              name={attribute.name}
              checked={!!checked}
              onChange={() => {
                if (checked) {
                  const newAttributes = { ...attributes };
                  delete newAttributes[attribute.handle];
                  setAttributes?.(newAttributes);
                } else {
                  setAttributes?.((prev) => ({
                    ...prev,
                    [attribute.handle]: [attribute.values[0].id],
                  }));
                }
              }}
            >
              {attribute.name}
            </Checkbox>
          );
        }

        if (attribute.type === "range") {
          return (
            <Range
              name={attribute.name}
              maxValue={100}
              minValue={0}
              key={attribute.id}
              setValues={(value) => {
                setIntAttributes?.((prev) => ({
                  ...prev,
                  [attribute.id]: value,
                }));
              }}
              values={[
                intAttributes?.[attribute.id]?.[0] ?? 0,
                intAttributes?.[attribute.id]?.[1] ?? 100,
              ]}
            />
          );
        }

        return (
          <CheckboxList
            key={attribute.id}
            checked={attributes?.[attribute.handle] ?? []}
            label={attribute.name}
            options={attribute.values.map((value) => ({
              value: value.id,
              label: value.value,
            }))}
            onChange={(values) =>
              setAttributes?.((prev) => ({
                ...prev,
                [attribute.handle]: values,
              }))
            }
          />
        );
      })}
    </VStack>
  );
});
Once we’ve utilized the attributes hook, the next step is to introduce the products hook for retrieving responses from the backend. Personally, I prefer SWR for this purpose, but feel free to use any fetch abstraction that suits your preference.
import { $api } from "@/shared/api";
import { Product } from "@medusajs/client-types";
import useSWR, { Fetcher } from "swr";

const fetcher: Fetcher<
  { products: Product[]; count: number },
  Record<string, unknown>
> = (params) =>
  $api
    .get(`store/products`, {
      params,
    })
    .then((res) => res.data);

export const PRODUCTS_KEY = `store/products`;

export const useProducts = (params: Record<string, unknown>) => {
  const { data, error, isLoading } = useSWR(
    [PRODUCTS_KEY, params],
    ([_, params]) => fetcher(params)
  );

  return {
    products: data?.products,
    count: data?.count,
    error,
    isLoading,
  };
};
Great, let’s now transition to our product list component.
export const ProductList = React.memo((props: ProductListProps) => {
  const { className } = props;
  const filters = useProductFilters();

  const representationParams = React.useMemo(
    () => ({
            attributes: filters.attributes ?? undefined,
            int_attributes: filters.intAttributes ?? undefined,
          }),
    [filters]
  );

  const { products } = useProducts(representationParams);

  return (
    <div className={classnames(cls.ProductList, {}, [className])}>
      {products?.map((product) => (
        <ProductTile product={product} key={product.id} />
      ))}
    </div>
  );
});
But how to implement maintenance mode in Next.js? Is it as easy as configuring a plugin on WordPress for a few minutes? Of course it is!
Magento, compared to Medusa, may lead to higher long-term costs due to its licensing model and the risk associated with the gradual decline in the popularity of the PHP language...